|
|
||
|---|---|---|
| app | ||
| images | ||
| README.md | ||
README.md
安卓APP
目的
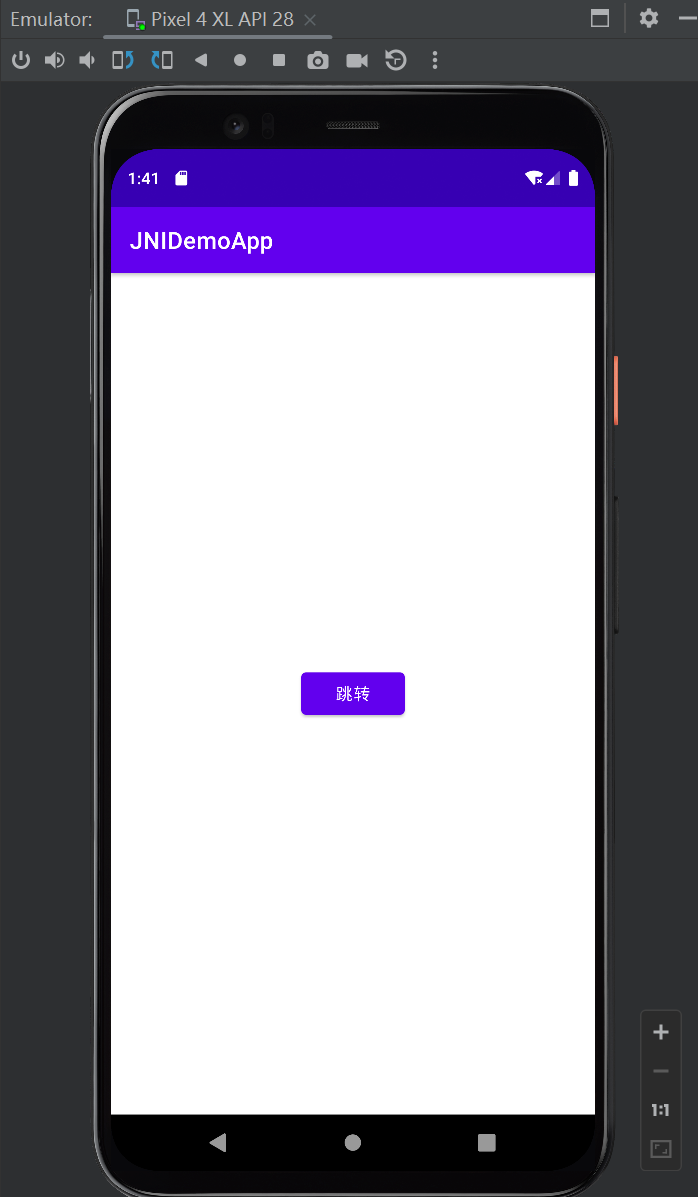
- 实现页面按钮跳转页面
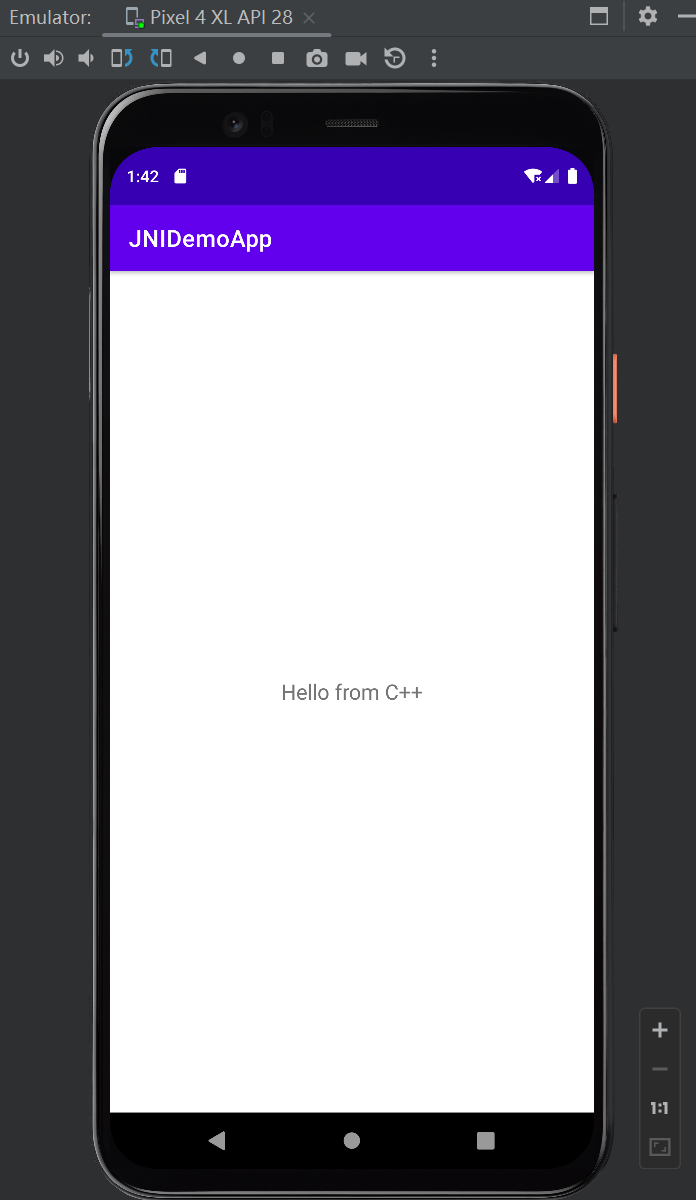
- 点击按钮后,页面显示来自JNI的字符串
实验步骤
1. 准备开发环境
- Android Studio
- JDK
- NDK(创建项目时会自动部署)
- CMake(创建项目时会自动部署)
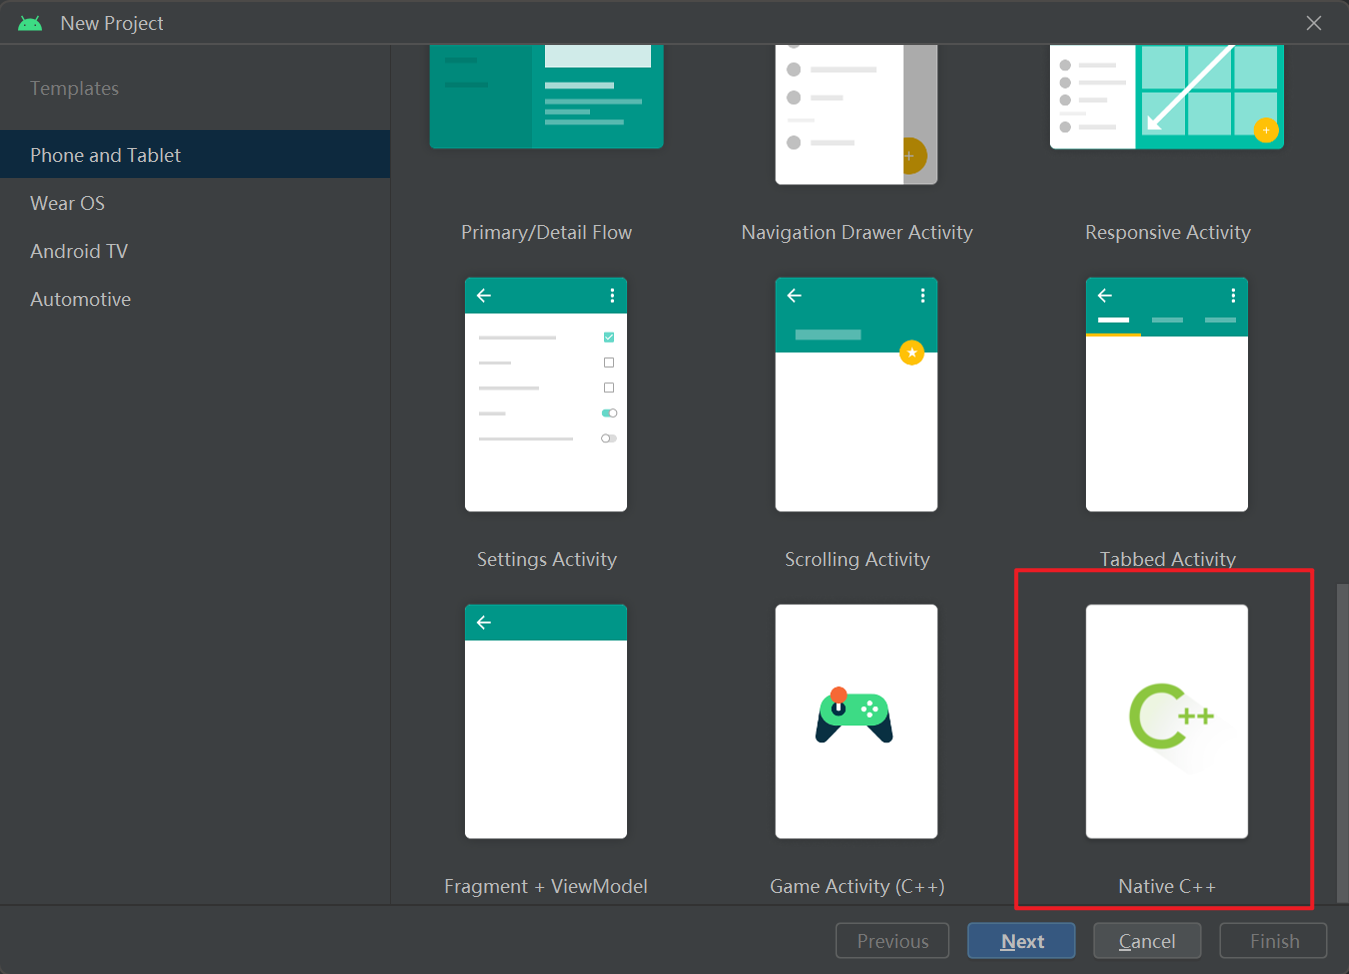
2. 创建一个原生C++安卓项目
部署原生C++安卓项目时,路径中不能有空格
使用了API 28: Android 9.0
3. 主页面添加按钮
在MainActivity.java中添加一个按钮,点击后跳转到SecondActivity
package com.example.jnidemoapp;

import android.content.Intent;
import android.os.Bundle;
import android.view.View;
import android.widget.Button;
import androidx.appcompat.app.AppCompatActivity;

public class MainActivity extends AppCompatActivity {
    @Override
    protected void onCreate(Bundle savedInstanceState) {
        super.onCreate(savedInstanceState);
        setContentView(R.layout.activity_main);

        // 页面跳转按钮
        Button button = findViewById(R.id.button_go_to_second);
        button.setOnClickListener(new View.OnClickListener() {
            @Override
            public void onClick(View v) {
                Intent intent = new Intent(MainActivity.this, SecondActivity.class);
                startActivity(intent);
            }
        });
    }
}
4. 创建SecondActivity.java
新建SecondActivity.java文件,显示来自JNI的字符串
package com.example.jnidemoapp;

import android.os.Bundle;
import android.widget.TextView;
import androidx.appcompat.app.AppCompatActivity;

public class SecondActivity extends AppCompatActivity {

    // 加载本地库
    static {
        System.loadLibrary("jnidemoapp");
    }

    // 声明一个本地方法
    public native String stringFromJNI();

    @Override
    protected void onCreate(Bundle savedInstanceState) {
        super.onCreate(savedInstanceState);
        setContentView(R.layout.activity_second);

        // 显示 JNI 返回的字符串
        TextView textView = findViewById(R.id.text_jni_string);
        textView.setText(stringFromJNI());
    }
}
5. 调整界面布局
-
在
activity_main.xml中添加一个按钮:<?xml version="1.0" encoding="utf-8"?> <RelativeLayout xmlns:android="http://schemas.android.com/apk/res/android" android:layout_width="match_parent" android:layout_height="match_parent"> <Button android:id="@+id/button_go_to_second" android:layout_width="wrap_content" android:layout_height="wrap_content" android:text="跳转" android:layout_centerInParent="true"/> </RelativeLayout> -
在
activity_second.xml添加一个TextView:<?xml version="1.0" encoding="utf-8"?> <RelativeLayout xmlns:android="http://schemas.android.com/apk/res/android" android:layout_width="match_parent" android:layout_height="match_parent"> <TextView android:id="@+id/text_jni_string" android:layout_width="wrap_content" android:layout_height="wrap_content" android:text="等待JNI数据..." android:textSize="18sp" android:layout_centerInParent="true"/> </RelativeLayout>
6. 添加JNI字符串
-
配置
CMakeLists.txt文件# For more information about using CMake with Android Studio, read the # documentation: https://d.android.com/studio/projects/add-native-code.html # Sets the minimum version of CMake required to build the native library. cmake_minimum_required(VERSION 3.22.1) # Declares and names the project. project("jnidemoapp") # Creates and names a library, sets it as either STATIC # or SHARED, and provides the relative paths to its source code. # You can define multiple libraries, and CMake builds them for you. # Gradle automatically packages shared libraries with your APK. add_library( # Sets the name of the library. jnidemoapp # Sets the library as a shared library. SHARED # Provides a relative path to your source file(s). native-lib.cpp) # Searches for a specified prebuilt library and stores the path as a # variable. Because CMake includes system libraries in the search path by # default, you only need to specify the name of the public NDK library # you want to add. CMake verifies that the library exists before # completing its build. find_library( # Sets the name of the path variable. log-lib # Specifies the name of the NDK library that # you want CMake to locate. log) # Specifies libraries CMake should link to your target library. You # can link multiple libraries, such as libraries you define in this # build script, prebuilt third-party libraries, or system libraries. target_link_libraries( # Specifies the target library. jnidemoapp # Links the target library to the log library # included in the NDK. ${log-lib})这里的库名称需要和SecondActivity.java中的System.loadLibrary函数中的库名称对应


